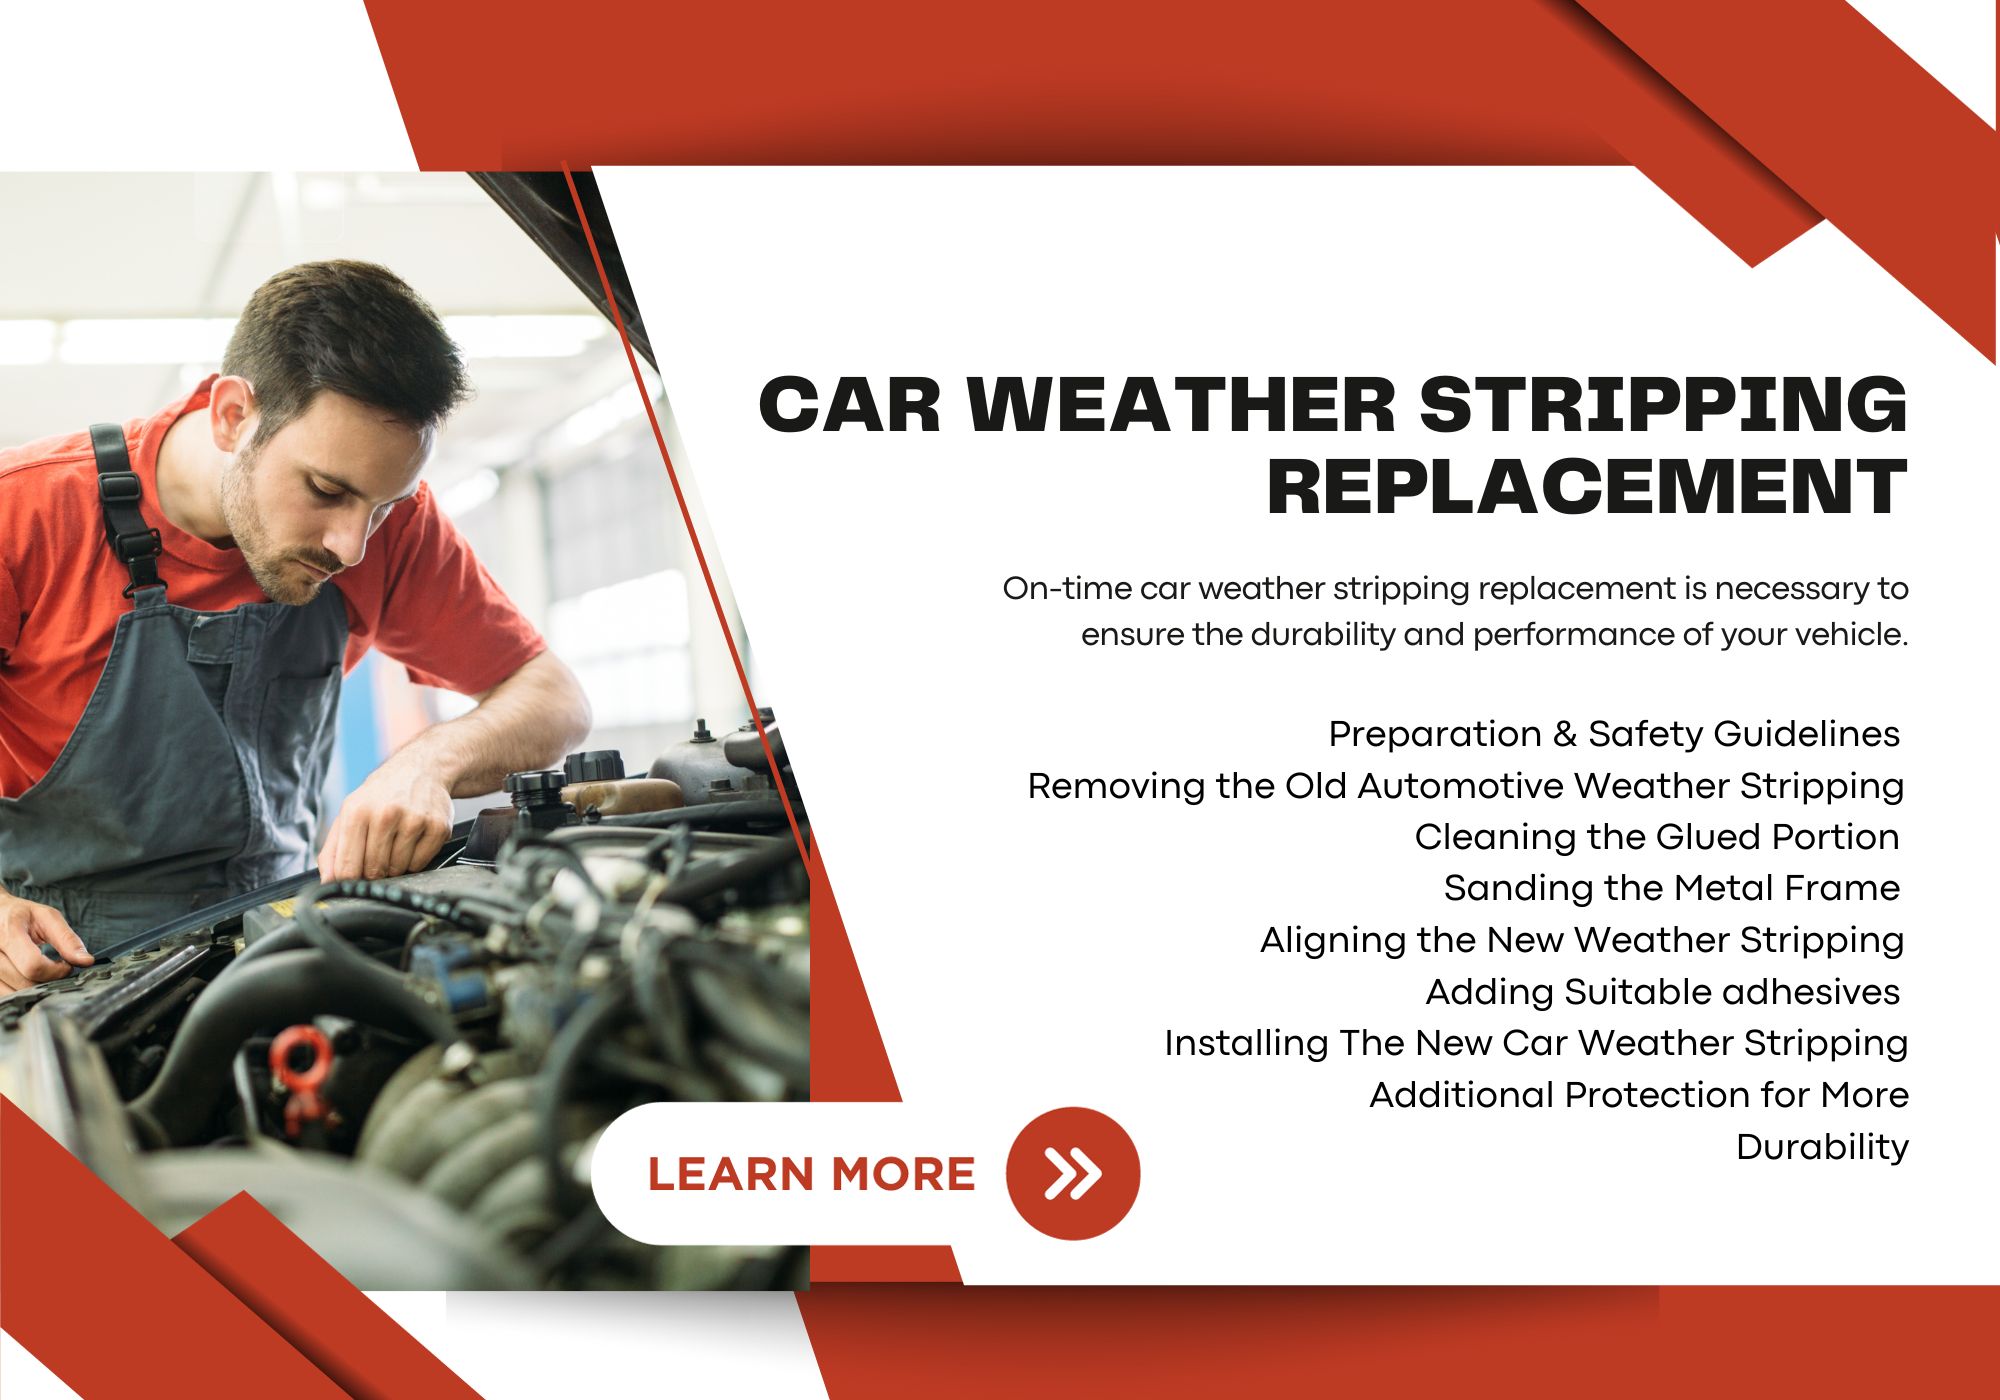
Car Weather Stripping Replacement Ultimate Guide: The Right 8 Steps
Car weather stripping is a crucial component of every vehicle. It provides many benefits to the drivers and the passengers. Firstly, it prevents contaminants, rainwater, air, and noise from coming inside. Secondly, automotive weather stripping plays a significant role in automotive HVAC systems. Thirdly, by preventing the airflow, it generally controls the vibration caused by heavy wind. Above all, it ensures comfortable driving both for drivers and the crews. Over time, these auto weather stripping degrade and lose their ability to work correctly. And here, we need to understand the proper way of car weather stripping replacement.
We must recognize the importance of proper replacement of vehicle weather stripping. Proper installation also ensures the durability of your vehicles. Therefore, we should be careful when we do the DIY project. We recommend that you understand each procedure and proceed to the final step. You can also seek assistance from professionals to learn more about it.
This article aims to provide the fundamentals of proper car weather stripping replacement. It highlights the primary places of replacement. Then, it explains how to identify the issues and when to replace your car weather stripping. Finally, it shows the step-by-step process of a car weather stripping replacement guide.
Table of Contents
Significant Places of Car Weather Stripping Replacement
An automobile typically has various opening places, such as doors, windows, windshields, a trunk, and a hood. In these places, seal strips are crucial for protection. Typically, car doors and window seal strips may require frequent replacement. You may also need to replace the weather stripping on the windshield in a scheduled timeframe.
Fixing Weather Stripping on A Car Door
In a typical private car, there are usually four doors. This configuration is commonly famous as a four-door sedan. One of the most vital locations of weather stripping is around the car’s doors. Car door weather stripping is designed to ensure a tight seal when the doors are closed. It prevents rain, wind, and noise from infiltrating the cabin.
Replace Weather Stripping on Windshield
There are two windshields found in typical private cars. One is the front windshield, and the other is the rear windshield. The windshield is another crucial area for weather stripping. Weatherstripping used in these places ensures that your windshield is securely in place. These seal strips also protect against leaks and reduce wind noise. They also contribute to the structural integrity of the vehicle.
Car Window Weather Stripping Replacement
A typical private car usually has four windows attached to four doors respectively. These windows are openable. So, “replace weather stripping car window” is tricky. Improper installation may bring unwanted consequences. However, these car window weather stripping also plays a crucial in the HVAC system and reduces noise. In some vehicles, you may find another window on top of the car.
Auto Weather Stripping Replacement: When and How to Identify
Auto weather stripping replacement ensures your vehicle remains comfortable and well-protected. Identifying when replacement is necessary is the key to maintaining it. The following four factors and signs are the most common. If you find these symptoms, take the required steps ASAP.
Age
Weatherstripping, over time, undergoes wear and tear. This process affects material deterioration and loss of elasticity of the rubber seals for cars. Over time, exposure to sunlight, temperature fluctuations, and general wear can cause them to degrade. This degradation can lead to cracks, brittleness, and reduced flexibility.
On the other hand, seal strips also lose their elasticity with time. They may need to conform to the contours of the car’s body more effectively. Ultimately, it leads to gaps and reduced sealing properties.
Noise
Another noticeable sign of deteriorating weather stripping is creased noise inside the car. Worn or damaged weather stripping can allow wind to penetrate the car’s interior. It creates noticeable whistling or wind noise, especially at higher speeds.
Moreover, loose or damaged weather stripping can cause vibrations. You may hear rattling sounds that Disrupt the quietness of the cabin.
Water Leaks
Water infiltration is another significant indicator of weather-stripping issues. Damaged or improperly sealed weather stripping allows water to enter the vehicle. You may encounter wet carpets, soggy seats, and a damp interior. In addition, discolored equipment in the car interior indicates a water-leaking problem.
Temperature Issue
Car weather stripping also plays a crucial role in maintaining consistent cabin temperature. It contributes to the car’s insulation, which keeps the interior temperature stable. If the seal strip is ineffective, you may notice difficulty maintaining a comfortable temperature.
Moreover, compromised seals can increase heating or cooling requirements in extreme weather conditions. Ultimately, you may observe higher fuel consumption.
Car Weather Stripping Replacement Process: An Overview
If you understand the process clearly, car weather stripping replacement is a manageable DIY task. Consequently, you can improve insulation, reduce noise, and prevent water leaks. The following step-by-step process is a general guideline for replacing all types of weather stripping in your vehicle. You can work on car doors, windows, and windshields. Note that each place may require different types of weather stripping. So, before you proceed to the process, understand the installation position properly.
Preparation And Safety Guidelines
Before starting, ensure you have prepared all the tools and safety equipment needed. Park your car in a well-ventilated area and turn off the engine. Disconnect the battery if it is working near electrical components. Now, prepare all the tools like knives, screwdrivers, adhesives, cleaning cloths, and sandpaper.
One of the most critical tasks here is identifying the correct seal strip type for your installation. Note that inadequate rubber seals for cars may create leaks. Different vehicles may use varying types of weatherstripping materials and profiles. You can also consult with your car’s manual or a professional if needed.
Removing The Old Automotive Weather Stripping
After the preparation, it’s time to remove the old vehicle weather stripping. You can use a flathead screwdriver to remove it from the exact location. Ensure that you have enough space before removing it. If you don’t do that, you may create some scratches accidentally. Now, gently remove every piece of the old seal. At the end, ensure that none of the weather-stripping pieces are left.
You may face difficulty while removing the auto weather stripping. In these situations, you can use some cleaning spray or liquid. These chemicals react with adhesive and help in quick removal. Moreover, do not use excessive force to remove. It might create some scratches accidentally.
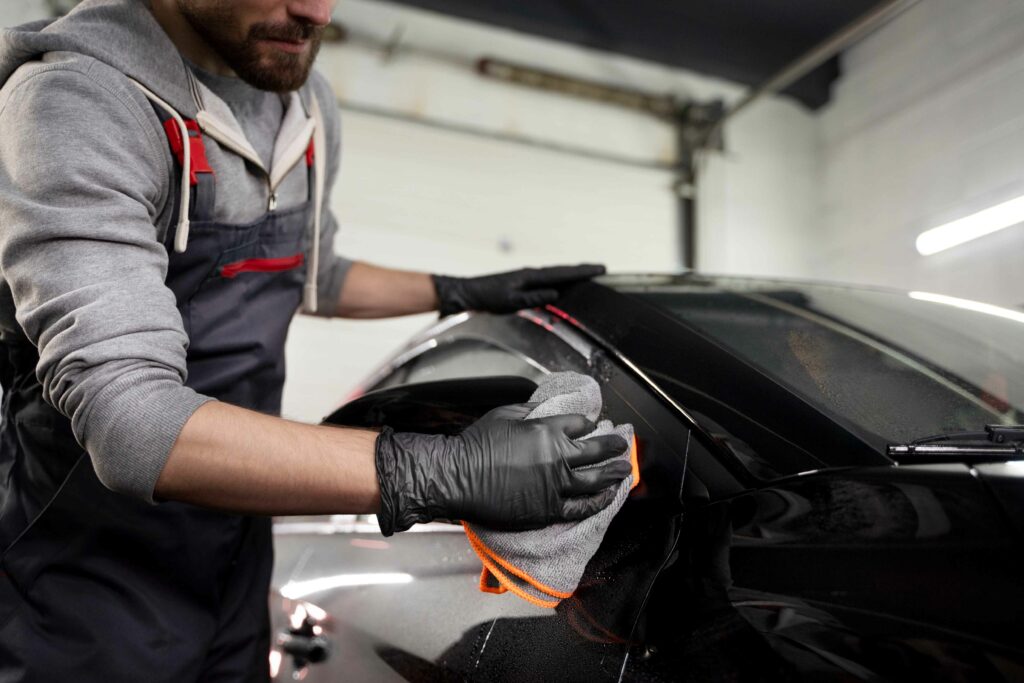
Cleaning The Glued Portion
After removing the defective weather stripping, the surface may still have some glued residue with dirt. Now, use a good-quality adhesive remover to clean these residue and contaminants. Note that your adhesive remover must specialize in cleaning and moisture protection. Gently rub the surface using a suitable rubbing cloth.
Continue the process until you ensure the surface is free of glued residue. Now, use a soft paper towel to wipe off the place. Taking the time to clean the surface properly is a crucial step in the weatherstripping replacement process. It contributes to the overall success of the replacement.
Sanding The Metal Frame
Choose a standard-grit sandpaper to perform this step. The grit value can be between #130 to #180. Before sanding, ensure the surface is properly cleaned. Note that a clean surface is essential for effective sealing. Now, gently rub the metal frame and apply consistent pressure to avoid creating uneven spots.
After sanding, wipe away any dust from the surface. Indeed a clean and dust-free surface is critical for optimal adhesion. Do not over-sand, as excessive abrasion can weaken the metal or create uneven surfaces. The ultimate goal is to create a textured and smooth surface.
Aligning The New Weather Stripping
Before adding the adhesive, align the new weatherstripping to justify the exact size you need for the installation. It helps you avoid unnecessary mistakes. Using a knife, gently cut the portion of the seal strip. Do not cut short length. Try to cut it a little longer to adjust it later if necessary.
Adding Suitable Adhesives
If your vehicle suits self-adhesive weatherstripping, this step is recommended. Selecting a suitable adhesive for your car weather stripping ensures a durable and effective seal. There are a wide range of sealants available in the market. Before implementing the glue, ensure the selected adhesive is ideal for specific seal strips.
Firstly, ensure the installation area is clean and free from dirt, debris, and old adhesive residues. Select the appropriate adhesive type suitable for the intended applications. You can follow the manufacturer’s instructions for your chosen adhesive. Now, apply a thin and even layer of car weatherstripping sealant on the metal frame.
Installing The New Car Weather Stripping
Apply the cut seal strip in place and press lightly. Ensure that you are giving an even pressure along the length of the weather stripping to ensure it adheres securely. Now inspect the entire length to confirm gaps or areas where the stripping hasn’t correctly attached. Then, follow the manufacturer’s recommended curing time before exposing it to moisture.
Additional Protection for More Durability
You can perform some additional protection procedures to ensure the long lifespan of your new weather stripping. Firstly, periodically inspect the weather stripping for signs of wear, damage, or detachment. Secondly, apply a UV-resistant sealant to protect the weather stripping from sunlight exposure. Note that UV exposure causes premature aging and cracking.
Thirdly, apply a weatherproofing spray designed for rubber surfaces. It creates a protective barrier against moisture and other environmental elements. Fourth, do not use any strong chemicals to clean your car. Finally, park your vehicle in a shaded area to reduce harsh weather exposure.
FAQ
How Often Should You Replace Door Seals?
Door seals normally last several years. However, we recommend you perform regular inspections to identify signs of wear or damage. If you notice issues like leaks, drafts, or noise, replace them ASAP.
How Much Does It Cost to Replace Car Seals?
The cost of replacing car seals may vary. It depends on the type of vehicle, installation, and material quality. If you do it yourself, the cost would be lower than hiring a professional. However, it may cost a hundred dollars for DIY replacement. The cost may rise by several hundred dollars for professional installation. Normally, it may range between $150 – $800.
Does Weather Stripping Need Adhesive?
The self-adhesive seal strip doesn’t require any adhesive for installation. On the opposite, general-purpose weather stripping requires high-quality glue for the installation. This adhesive creates a secure and lasting bond between the seal and the car’s frame. Therefore, use a suitable adhesive for effective sealing.
Is Weather Stripping Easy to Install?
The difficulty of installation also depends on specific vehicles and the seal type. It may be easy for DIY enthusiasts with sufficient knowledge. They may find difficulty in more complex installation. Proper preparation and following installation guidelines are crucial for success.
How Long Does Car Weatherstripping Last?
Car weather stripping normally lasts a few years. However, the lifespan of them can vary based on several factors. These factors include the quality of materials, environmental conditions, and maintenance. In general, weatherstripping can last several years. Regular inspection and replacement are necessary to maintain a well-sealed and comfortable interior.
Summary
We’ve discussed all essential aspects in this Car Weather Stripping Replacement guide. This guide will help you maintain a weather-resistant vehicle interior. The guide also ensures a comfortable environment both for drivers and passengers. We explored common areas such as car doors, windshields, and windows. In these places, car weather stripping plays a crucial role in sealing against the contaminants.
Moreover, we also discussed the signs indicating the need for weather stripping replacement. These symptoms include age, noise, water leaks, and temperature issues. We also have provided a step-by-step car weather stripping replacement guide. Finally, we shared tips for prolonging the lifespan of your new weather stripping.
Regularly inspecting and maintaining your car’s weather stripping ensures a well-sealed interior. It also prevents leaks, drafts, and noise. Moreover, a well-sealed interior maintains comfortable temperature levels and energy efficiency. It also protects your vehicle’s interior from the damaging effects of moisture and external elements. Above all, regular inspection extends the lifespan of your weather stripping and saves repair costs in the long run.